Current Custom Bach Project, begin date: 02-08-03
Ah... looking nice!
OK, now it's time to solder the mid portion of the bell. In the photo below is my mounting jig. You can see several round discs attached to its jaws. Those are leather saxophone pads! They keep the tool from scratching the bell.
A good clean solder job so far. Solder completely around the entire flange and not too much to clean up!
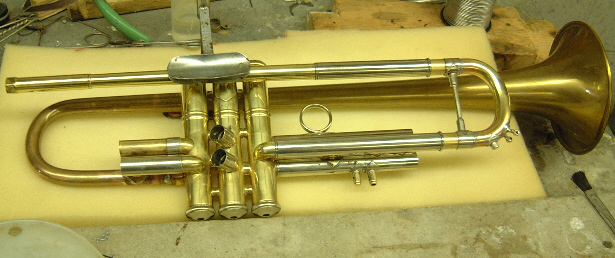
Side note - If you're wondering about the valve caps, let me explain. I think it's a good habit to have the threads protected when you're doing extended work like this on a horn, just for safety's sake. Even though I'm using a foam pad to sit the horn on, it's still safer to have the threads protected. Also, the reason the #2 cap is removed is because of the soldering process. They tend to transfer too much heat - removing the #2 cap makes soldering the bell-to-valve brace much easier as the heat goes to the brace and is not absorbed by the cap.
Next, I'll double check the bell's alignment and then solder the brace to the valve casing.